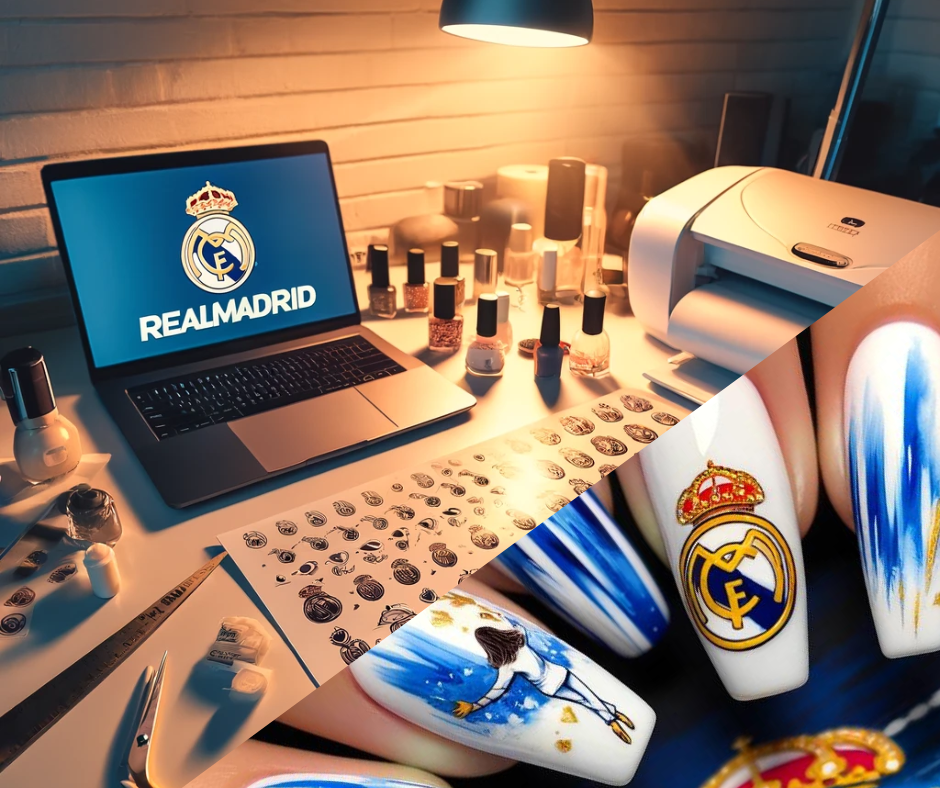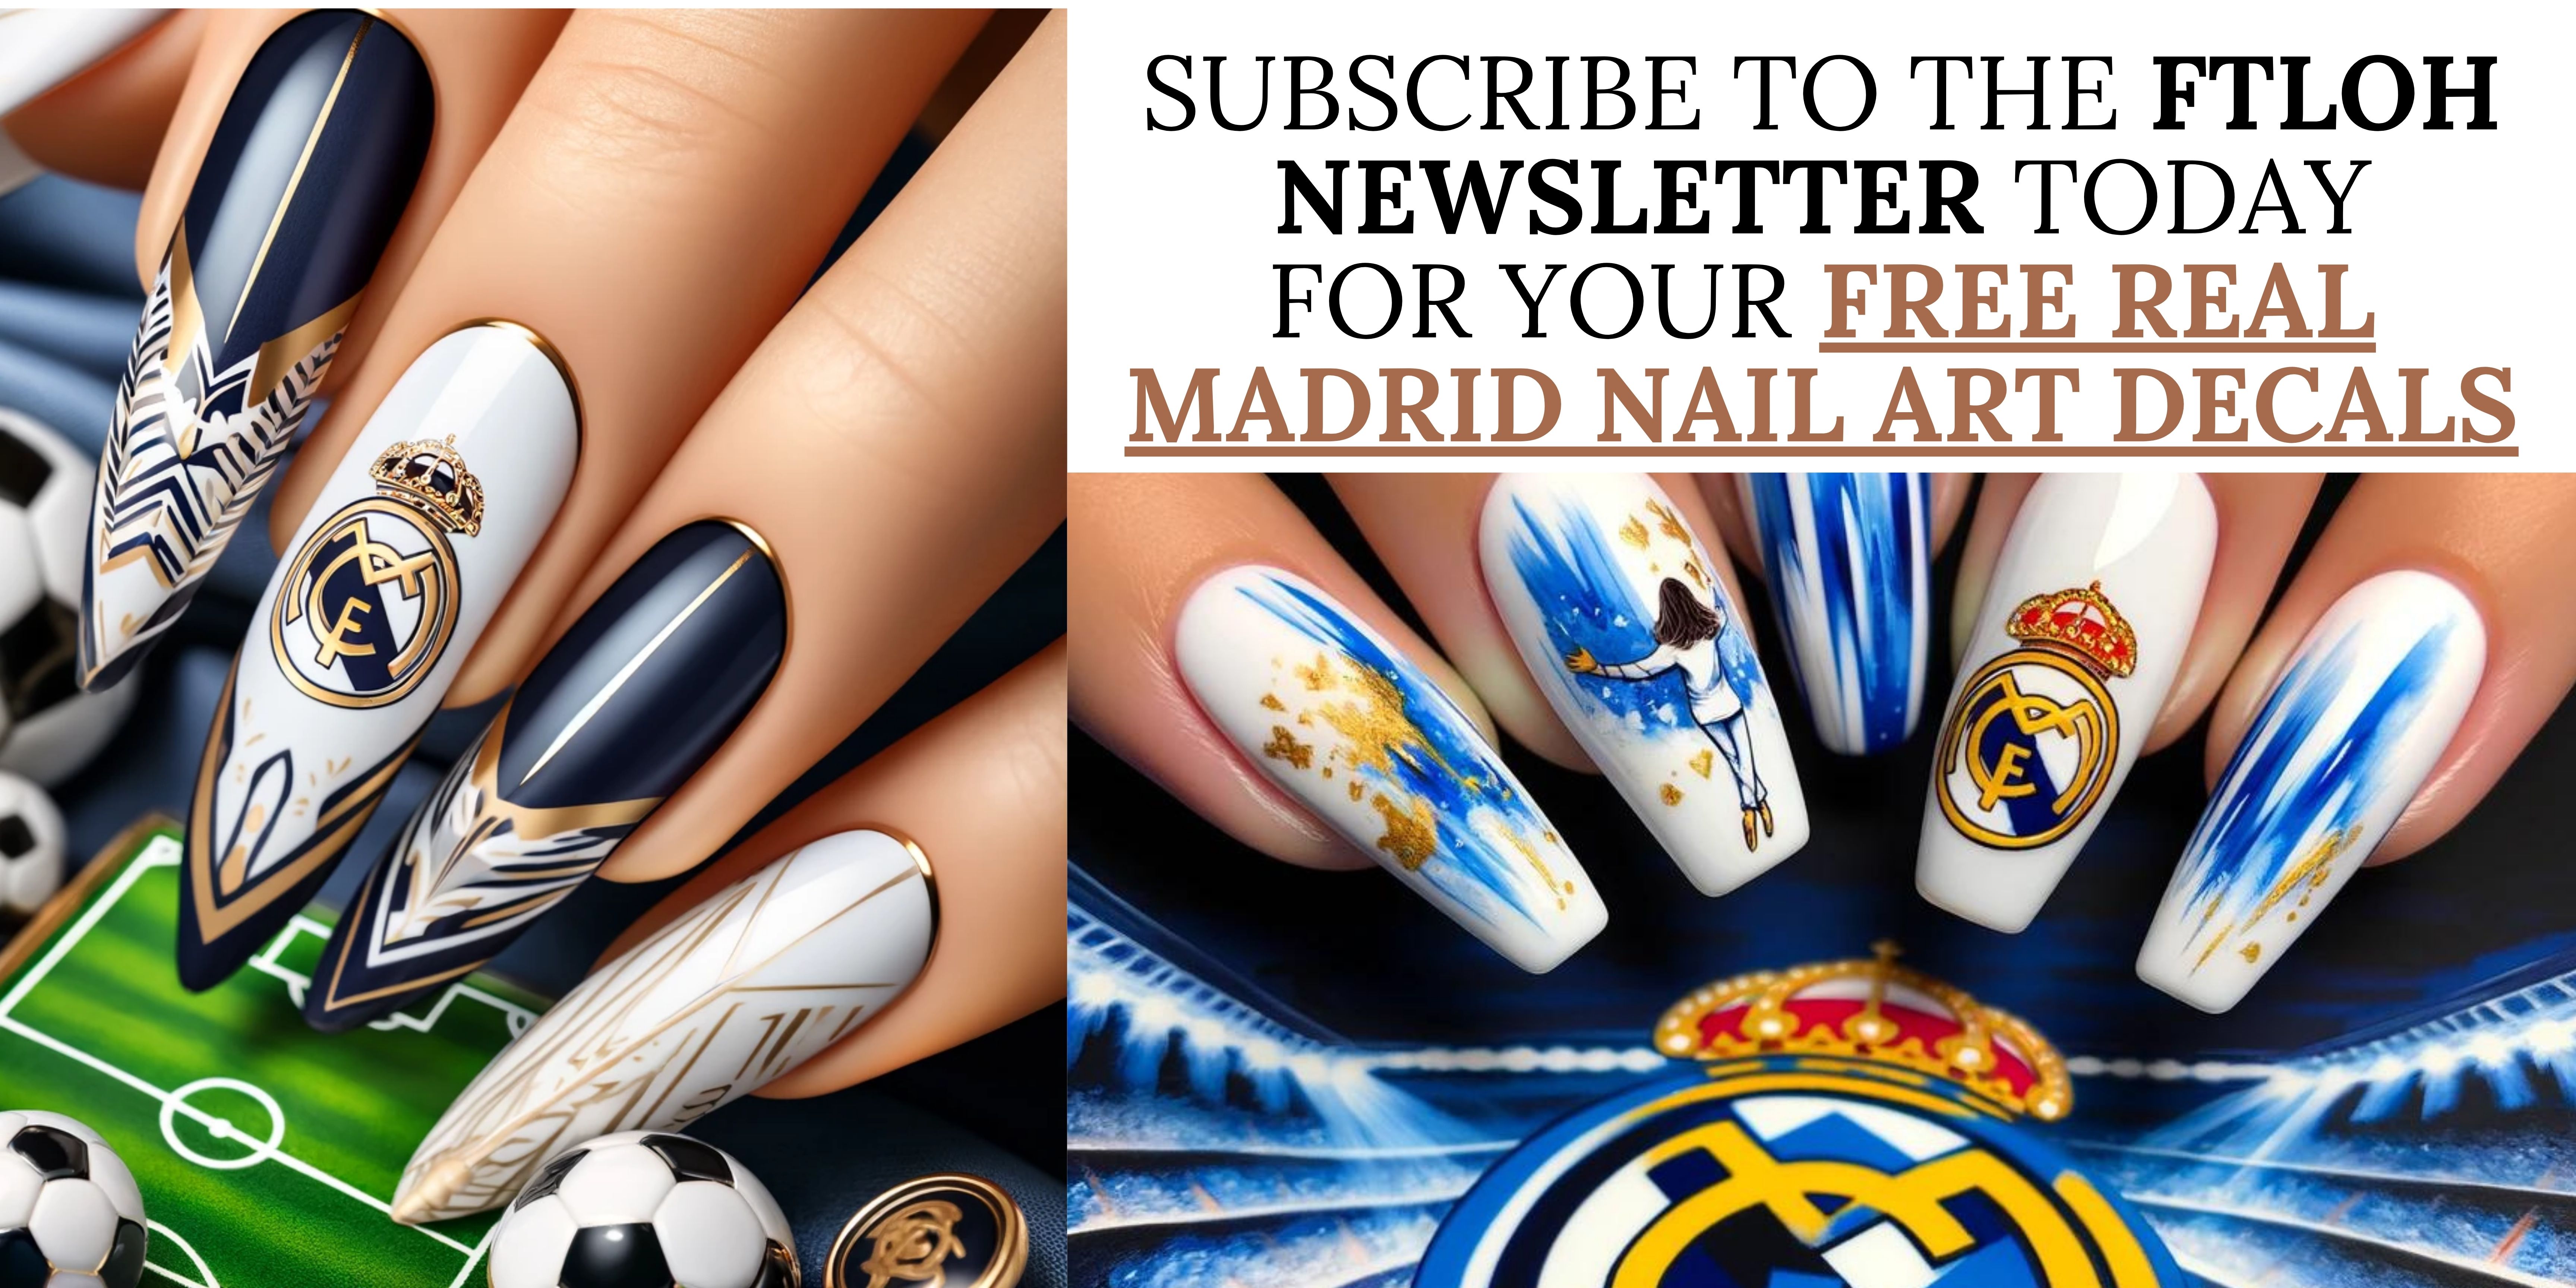

Hi everyone! Welcome back to For The Love Of Her Nail Care & ASMR Community. I?ve been exploring new nail art techniques and today, I'm thrilled to share my experience on how to make your own Real Madrid "??????? ???? ??????" nail art stickers at home. This method is perfect for showing off your team spirit with stunning, personalized nail designs. Let's dive in!
Supplies Needed:
First, gather all your supplies. You?ll need waterslide decal paper, both transparent and white. I find the white paper works best for full nail wraps, while the transparent paper is great for smaller designs.
*Make sure you print on the glossy side of the paper.
- Waterslide Decal Paper: Amazon Link
- Printer: Any basic color printer will do. I use a HP 4100 printer I got on Amazon.
- Software: Microsoft Word or any other software that allows you to format and print images.
- Varnish: Krylon Kamar Varnish, which you can find in the craft section at Walmart or you can just let good old Amazon just round up everything for you.
Step-by-Step Guide:
1. Preparing Your Images:
- Open Microsoft Word and change the paper layout to A4. Adjust the margins to use as much of the paper as possible.
- Search for high-quality images of Real Madrid logos or players. I recommend searching for "wallpaper" images as they tend to be higher resolution.
- Copy the desired image and paste it into Word. Resize it to fit your nails. You may want to test print on regular paper to ensure the size is correct.
2. Printing the Decals:
- Before printing on your decal paper, open your printer preferences in the control panel. Set it to high-quality photo printing, glossy paper, and A4 size.
- Print the images on the glossy side of the decal paper. This might take a few minutes as high-quality prints are slower.
3. Sealing the Decals:
- Once printed, let the ink dry completely. This usually takes about 10-15 minutes.
- Spray the decals with Krylon Kamar Varnish. Apply two coats, allowing the first coat to dry before applying the second. This helps protect the ink and makes the decals more durable.
4. Applying the Decals:
- Cut out the designs you want to use. Place them in water image side down and let them soak until the backing paper is fully saturated.
- Carefully peel off the decal using tweezers. If it doesn't slide off easily, let it soak a bit longer.
- Place the decal on a cured base coat. The sticky layer of the base coat helps the decal adhere smoothly.
Tips and Tricks:
- If your images have extra space you don't want, use the snipping tool to crop them before resizing and printing.
- Align your images in rows to maximize the use of your decal paper.
- Always test print on regular paper first to avoid wasting decal paper.
Final Thoughts:
Creating your own Real Madrid "??????? ???? ??????" nail art stickers at home is not only fun but also a great way to personalize your nail designs. I was amazed at how professional they looked the first time I tried this. It?s a simple process that can yield impressive results, perfect for any Real Madrid fan wanting to show their support in a stylish way.
If you enjoyed this tutorial and found it helpful, please like, share this article and sign up to our newsletter to get exclusive deals and offers. Stay tuned for more nail art tips and tutorials. Happy nail crafting!
