My soak and polish method. As much as I adore the long-lasting shine and vibrant colors of gel polish, there comes a time when it needs to be removed. However, removing gel polish can be tricky and, if not done correctly, can damage your nails. Over the years, I?ve perfected a method that is both safe and effective. Here?s my step-by-step guide on how to remove gel polish safely at home.

Why Proper Removal is Important
Before diving into the removal process, it's essential to understand why proper removal is crucial. Gel polish is designed to be long-lasting and durable, which means it adheres tightly to your natural nails.
Improper removal can lead to:
- Nail Damage: Peeling or chipping off gel polish can strip away layers of your natural nail, making them thin and weak.
- Pain and Discomfort: Ripping off gel polish can cause pain and leave your nails feeling sore.
- Infections: Improper removal can create micro-tears in your nails, which can become entry points for bacteria.
By following my gentle and systematic soak and polish approach, you can maintain healthy nails while enjoying the benefits of gel polish.
Supplies Needed
- Nail polish remover (acetone): Make sure it's 100% acetone, as regular polish remover won't be strong enough.
- Cotton balls or pads: Cut them into small pieces to fit your nails.
- Aluminum foil: Cut into strips to wrap around your fingers.
- Cuticle pusher: Preferably a wooden or metal one.
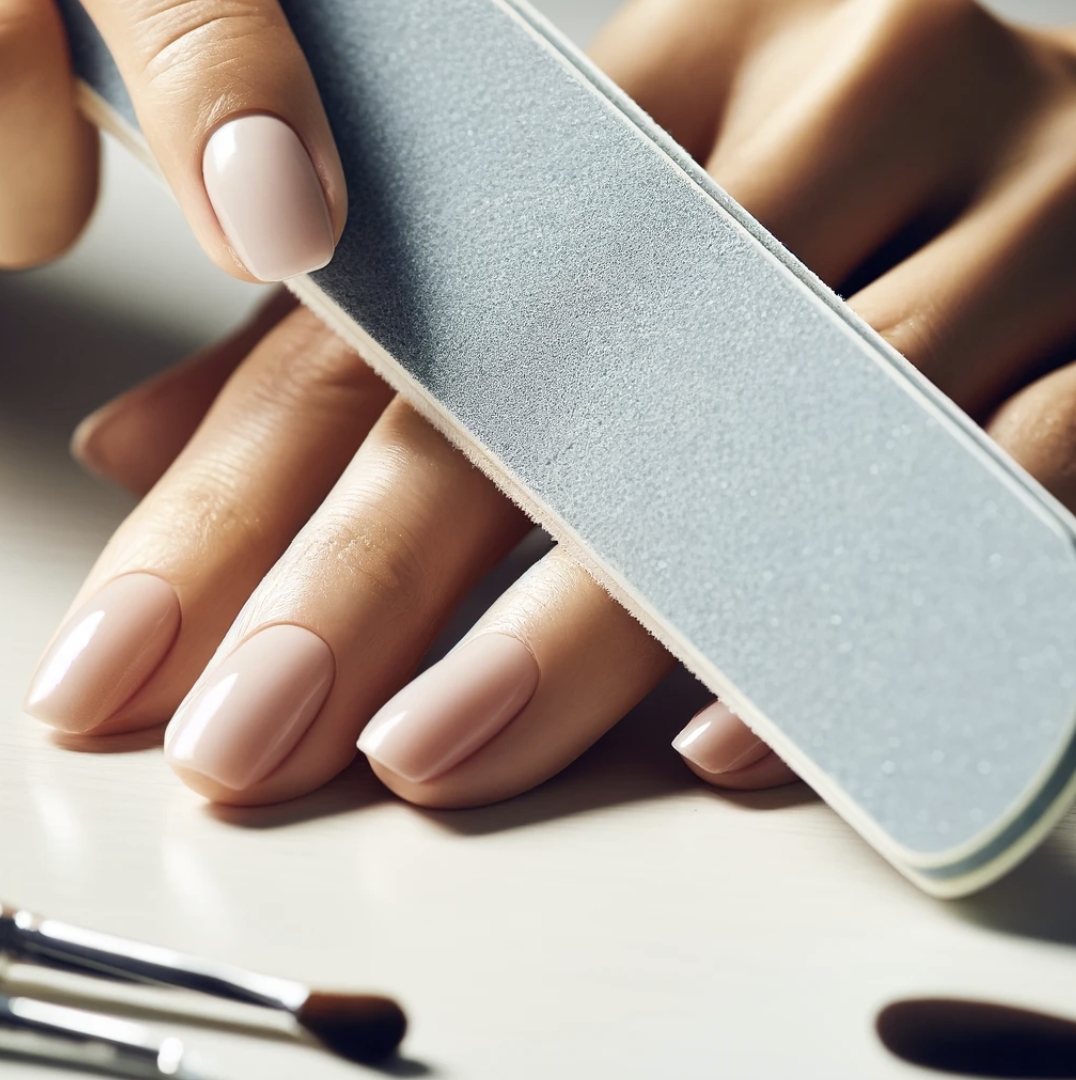
- Nail buffer: For gently buffing the nail surface.
- Cuticle oil: To rehydrate your nails after the removal process.
As usual my one stop shop is Amazon.com for the basics
Step-by-Step Removal
Step 1: Buff the Top Layer
Lightly Buff the Top Layer: Start by lightly buffing the top layer of the gel polish with a nail buffer. This step is crucial as it breaks the seal of the top coat, allowing the acetone to penetrate the layers of polish more effectively.
Step 2: Soak Cotton Balls in Acetone
Soak Cotton Balls: Soak small pieces of cotton balls or pads in 100% acetone. Ensure they are fully saturated but not dripping.
Step 3: Wrap Your Nails
Wrap with Foil: Place the soaked cotton ball on your nail, then wrap your finger with a strip of aluminum foil to hold the cotton in place. Ensure it?s snug but not too tight.
Step 4: Wait Patiently
Wait for 10-15 Minutes: Allow your nails to soak for about 10-15 minutes. The acetone will work to break down the gel polish, making it easier to remove.
Step 5: Remove Foil and Cotton
Gently Remove Foil and Cotton: After soaking, gently remove the foil and cotton. The gel polish should be lifting and coming off easily.
Step 6: Push Off the Gel
Use a Cuticle Pusher: Use a cuticle pusher to gently push off any remaining gel polish. Be careful not to scrape too hard, as this can damage your natural nails.
Step 7: Buff and Hydrate
Buff Any Residue: Use a nail buffer to smooth out your nails and remove any leftover residue.
Apply Cuticle Oil: Finish by applying cuticle oil to your nails and cuticles. This step is essential to rehydrate and nourish your nails after the acetone treatment.
Tips for Success
- Be Patient: Rushing the process can damage your nails. Give the acetone enough time to work.
- Avoid Peeling: Never peel or force the gel polish off, as this can take layers of your natural nail with it.
- Hydrate: Always follow up with cuticle oil or a moisturizing hand cream to restore hydration to your nails and skin.
By following these steps, you can safely remove gel polish at home without damaging your nails. This method has worked wonders for me, and I hope it helps you maintain healthy, beautiful nails too.
Happy soaking and polishing!
