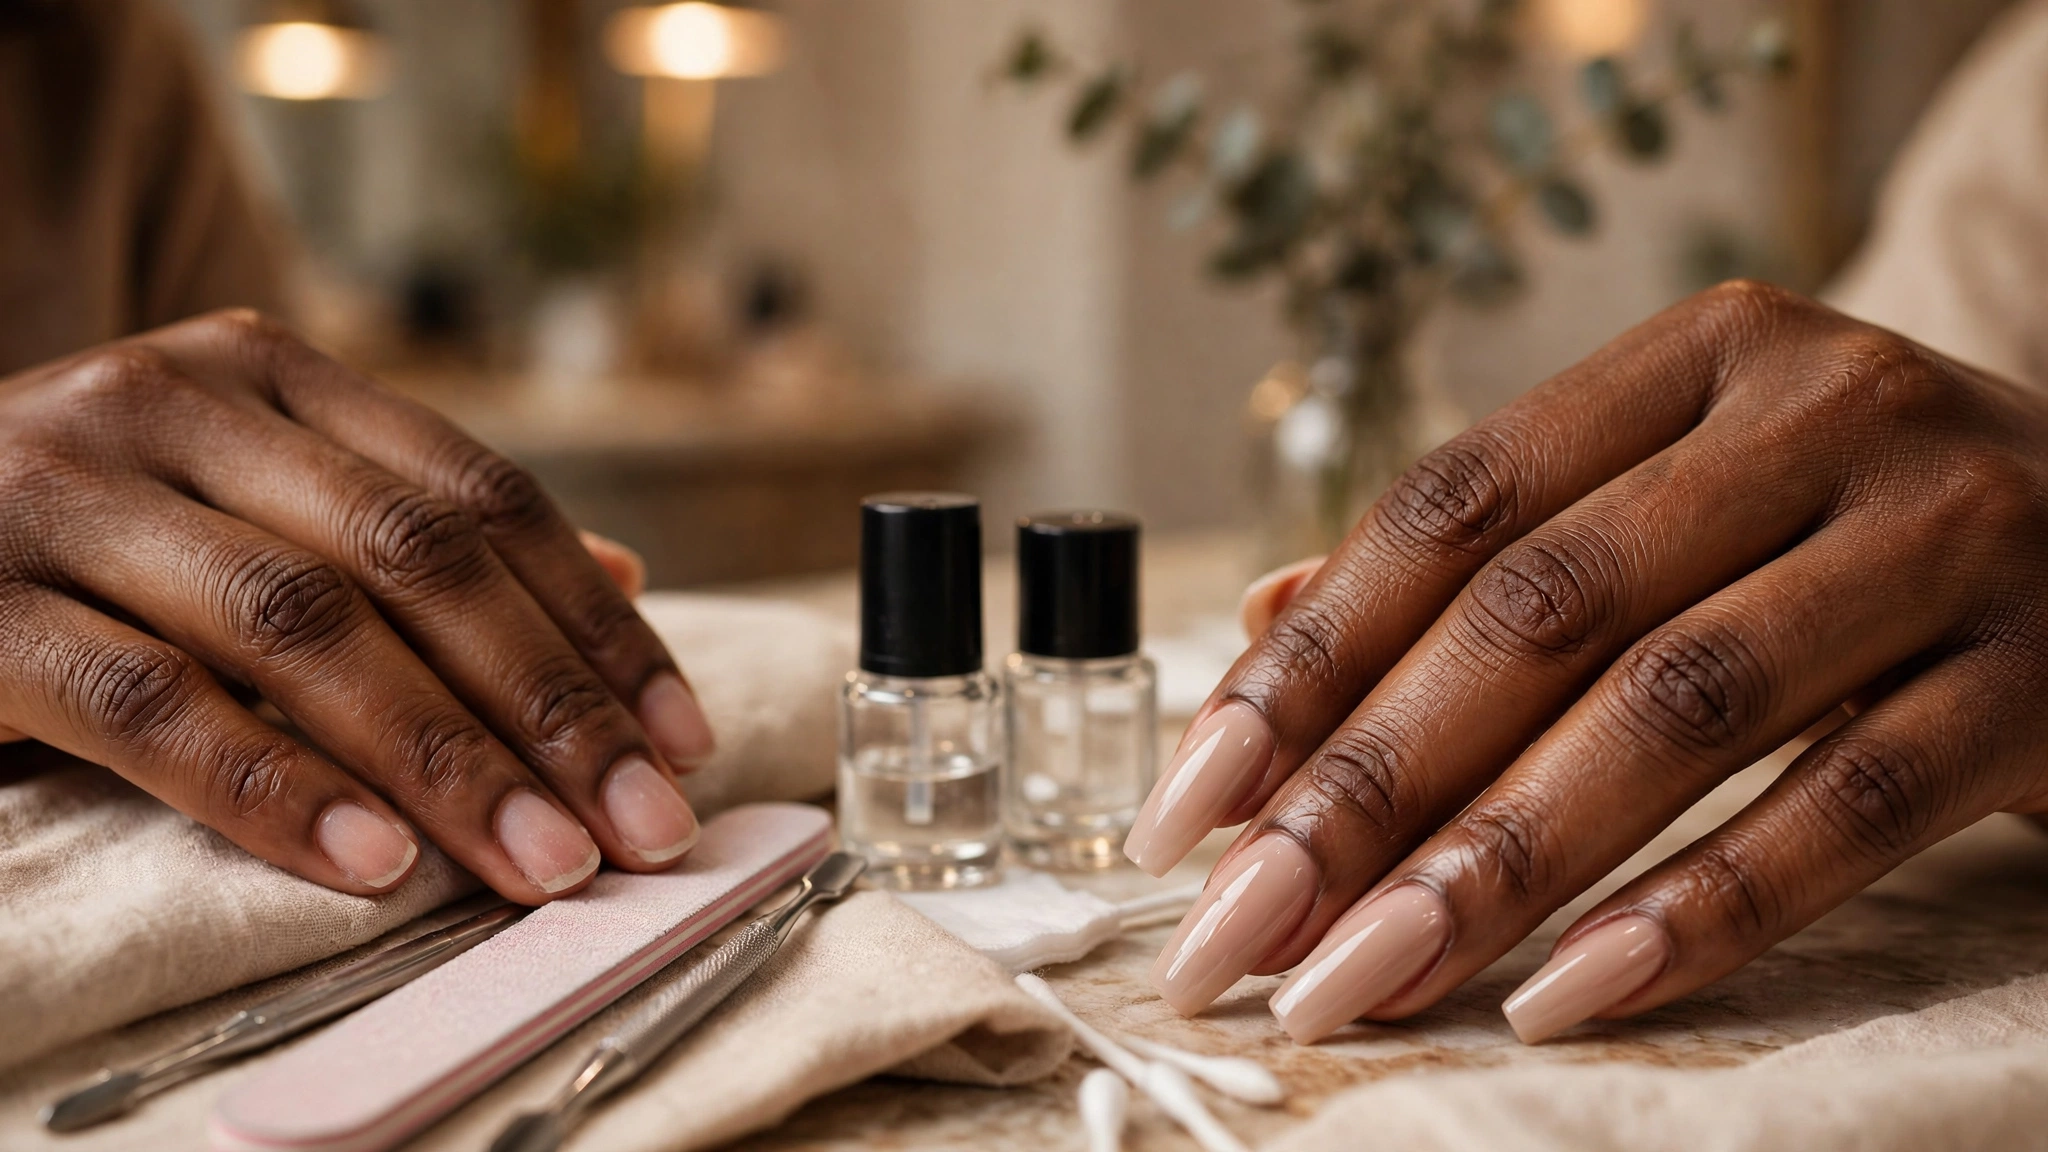
The 5-Minute No-Lift Prep Routine: A Pro's Full Guide
Your nails don't lift because of the gel, love. They lift because of what happened before the gel.
After 30 years behind the chair, I can tell you this plainly: 9 out of 10 lifting, popping, and breaking problems have nothing to do with the products you buy. It's the prep. And prep is a skill you can learn in one evening.
This routine takes 5 minutes once you've done it twice. Do it before every set — gel, acrylic, or soft-gel tips — and watch your retention go from one week to three. My sets stayed on 3–4 weeks on exactly this routine, and it's the same one I taught every junior tech who worked beside me.
What you'll need
Cuticle pusher (metal, with a flat scraping edge)
180-grit nail file
Lint-free wipes — not cotton balls (stray fibers stick to the plate and become lifting channels)
Rubbing alcohol
Nail dehydrator
Nail primer
Base coat and your lamp, ready to go before you start
Have everything within reach before step 1. Once a nail is prepped, the clock is running — you don't want to be hunting for your primer with a bare, open nail plate.
The routine, step by step
Step 1 — Push back + scrape the cuticles (0:00–1:00)
Push the cuticle back, then use the flat edge of your pusher to gently scrape the invisible cuticle off the nail plate. That thin, clear skin stuck to the nail is the #1 cause of lifting in the world. If the plate isn't squeaky-clean, nothing sticks to it.
Be thorough but gentle — you're removing skin, not digging. This is the step most tutorials skip completely, and it's the one that matters most.
Step 2 — Shape the free edge now (1:00–2:00)
File your square or coffin shape before any product goes on. Filing after application drives dust under your enhancement — and dust under gel is a future lift.
Get the architecture right while the nail is bare. The shape you file now is the shape you live with for three weeks.
Step 3 — Remove the shine (2:00–2:45)
One light pass with the 180-grit over the whole nail plate, in one direction. You're not thinning the nail — you're just taking the shine off so product has something to grip. Light pressure.
If you see white dust, you're doing it right. If you feel heat, you're pressing too hard.
Step 4 — Dust off + alcohol cleanse (2:45–3:15)
Brush every speck of dust away, then wipe each nail with alcohol on a lint-free wipe. This removes the last of the oils and filing residue.
No cotton balls, ever. A single fiber left on the plate is a channel water will find later.
Step 5 — Dehydrator (3:15–4:00)
One thin coat on the natural nail only. Let it air dry until the nail looks matte and chalky. That chalky look means the oil is pulled out of the plate.
Don't touch the nail after this — not even a quick phone check. Skin oil transfers in seconds, and it undoes the step you just did.
Step 6 — Primer (4:00–4:45)
One thin coat, same area, staying a hairline away from the cuticle. Flooded primer causes lifting and can irritate skin. Air dry 60 seconds until chalky-white.
That chalky layer is the grip. Thin is strong; thick is spongy and peels. And the order is never negotiable: dehydrator first, primer second. Prime first and you've sealed the oil in — then you wonder why the set lifted in a week. (The full duo breakdown is the Day 7 post in this series — dehydrator first, primer second, always.)
Step 7 — Base coat immediately (4:45–5:00)
Get your base on and under the lamp right now. Every minute a prepped nail sits open, it's absorbing oil from the air.
Don't answer a text. Don't touch your face. Base, lamp, done.
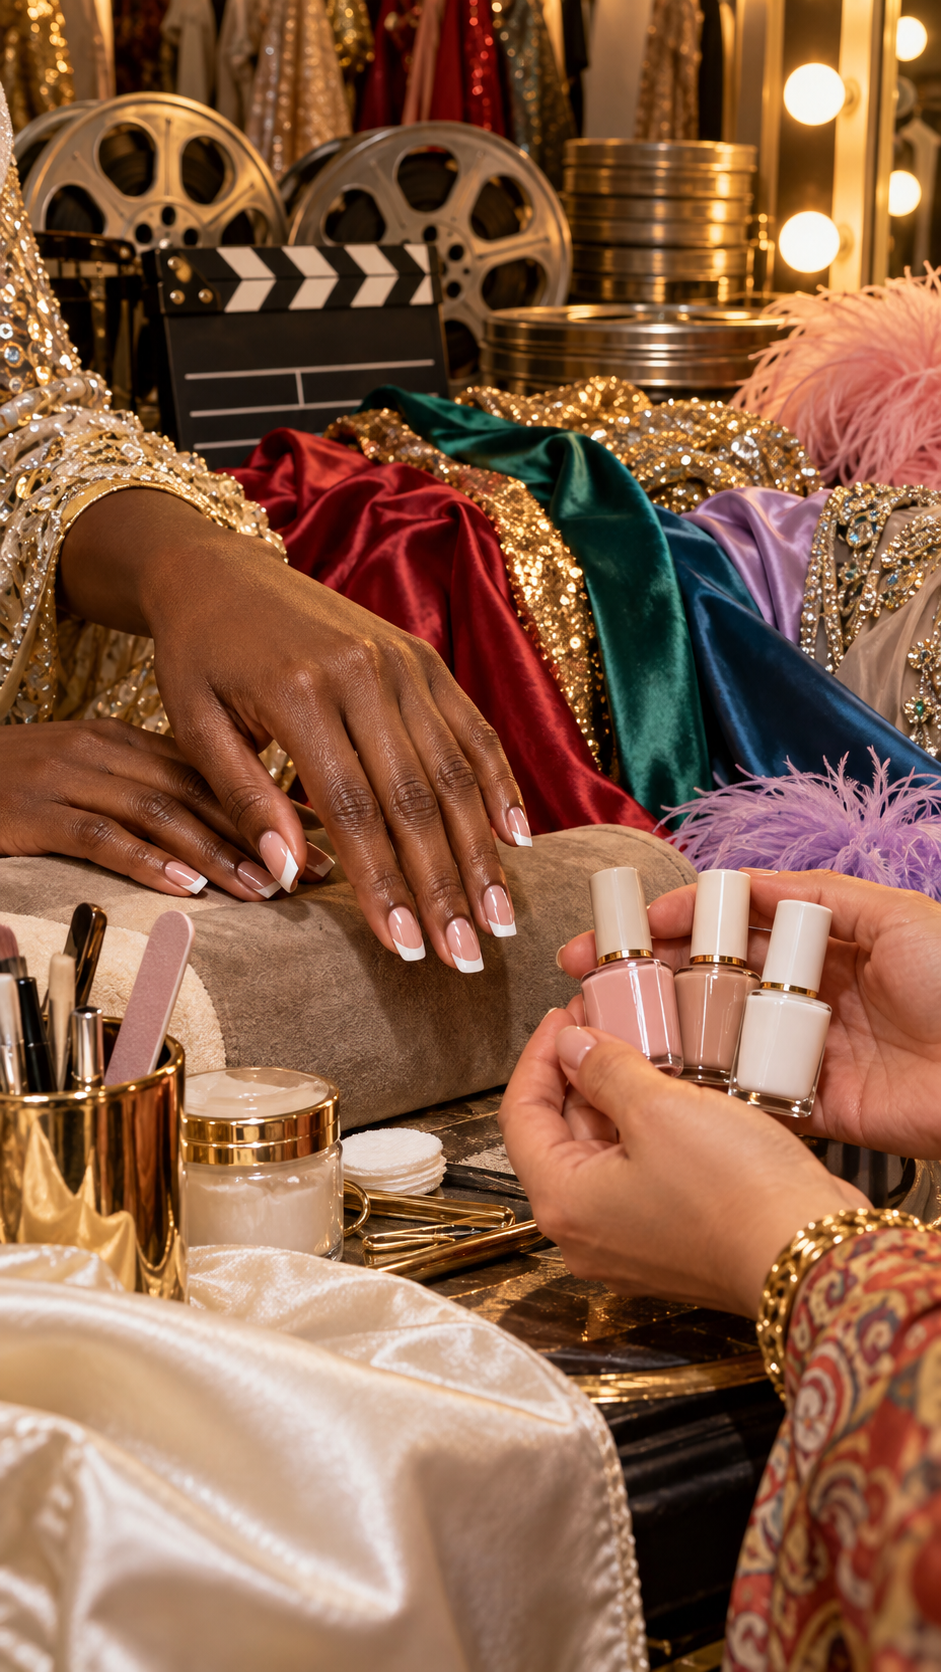
Two pro rules that make it all work
1. One hand at a time. Prepped nails re-absorb oil while you work on the other hand. Finish hand one completely — prep through base coat — before starting hand two.
2. Cap the free edge with every layer. Run each coat — base, color, top — right over the tip edge. That's the seal that keeps water out, and water is what pops sets off.
Still lifting? Run this checklist
Did you scrape the invisible cuticle, or just push it back? Pushing alone isn't enough.
Did you use cotton balls instead of lint-free wipes? Fibers = lift channels.
Did you touch your nails between prep and base coat? Even once restarts the clock.
Is your primer layer thin and chalky, or thick and shiny? Thick primer peels.
Did you prep both hands, then start applying? Your first hand re-oiled itself while you waited — one hand at a time.
If you can answer all five correctly and a set still lifts, the problem is almost never the prep anymore — it's the apex, the application, or the removal. Those are coming in this series.
Get the duo
The dehydrator + primer duo costs under $10 and does more for your retention than any top coat on the market. Here's the one I point my girls to: Shop the duo
Quick note: that's my personal referral link — I may earn a commission if you grab anything. It keeps the lessons free and coming. 💕
Keep going
Watch it: the full routine as a 90-second video is on the Facebook page — search "5-Minute No-Lift Prep Routine" on The Love of Her, or catch it again on Day 28 of the 30-day series.
Get the written routine in your DMs: comment PREP on the Day 2 post and I'll send you the full routine with the product checklist, free.
Find your vibe first: take the Nail Vibe Finder quiz at nail-vibe-finder.fortheloveofherasmr.com — your result points you to the guides that match your style.
Your lifting problem was never the gel, love. It was everything before it. Do this routine, and come show me your 3-week retention — I want to see it. 💅